

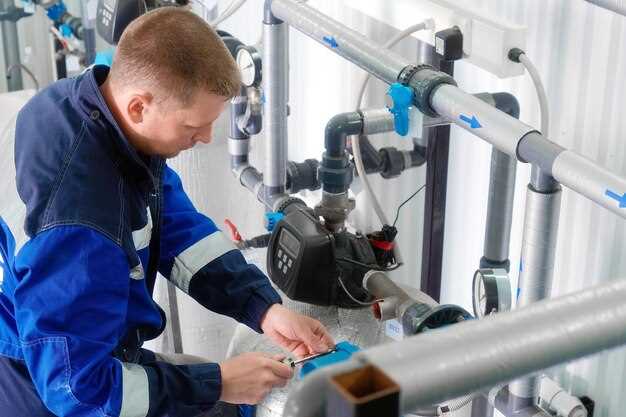
The water pump is a crucial component of the cooling system in your Volkswagen Corrado. It is responsible for circulating coolant throughout the engine, ensuring that it maintains an optimal operating temperature. A malfunctioning pump can lead to overheating, engine damage, and a host of other issues. Replacing the water pump is an essential maintenance task that every Corrado owner should be aware of.
When you notice signs like coolant leaks, engine overheating, or unusual noises coming from the pump, it may be time for a replacement. The procedure requires attention to detail and a good understanding of the vehicle’s cooling system. Using high-quality parts and following the manufacturer’s guidelines will ensure that your newly installed pump performs effectively, providing reliable coolant flow for years to come.
In this guide, we will walk you through the steps necessary to replace the water pump on a Volkswagen Corrado. From gathering the required tools and materials to properly installing the new pump, this comprehensive approach will help you perform the task efficiently and with confidence in your abilities.
Identifying Symptoms of a Failing Water Pump
A faulty water pump can lead to significant issues within the engine cooling system of your Volkswagen Corrado. Identifying the early signs of a failing pump is crucial to prevent further damage. Here are some common symptoms to watch for:
1. Overheating engine: One of the most obvious signs of a malfunctioning water pump is engine overheating. If the pump fails to circulate water effectively, the engine temperature will rise, leading to potential engine damage.
2. Coolant leaks: Check for any coolant pooling under the vehicle. A failing pump may develop leaks from the weep hole, indicating internal wear. This can decrease the efficiency of the water system, leading to insufficient coolant levels.
3. Unusual noises: Listen for any strange noises coming from the pump area, such as whining or grinding sounds. These noises may indicate that the water pump bearings are worn out, which can affect its performance.
4. Steam from the radiator: If steam is seen coming from the radiator or engine bay, this may indicate that the water pump is not circulating water properly, resulting in overheating and steam generation.
5. Dashboard warning lights: Many vehicles have warning indicators for overheating or low coolant levels. Pay attention to any lights on the dashboard, as they can signal problems with the water pump or cooling system.
Being proactive in identifying these symptoms can save you from more extensive repairs and ensure your Volkswagen Corrado runs smoothly.
Gathering Necessary Tools and Replacement Parts
Replacing the water pump on a Volkswagen Corrado requires careful preparation and the right tools. Start by collecting essential hand tools such as a socket set, wrenches, and screwdrivers. A ratchet with extensions may prove helpful for accessing hard-to-reach bolts in the engine bay.
Next, ensure you have a torque wrench to properly tighten bolts to the manufacturer’s specifications. A coolant catch pan is also necessary to collect any fluid from the cooling system during the replacement process, minimizing spills and ensuring a clean workspace.
When it comes to replacement parts, sourcing a high-quality water pump is crucial. Look for parts that meet or exceed OEM specifications to guarantee performance and longevity. Consider replacing the timing belt and any associated gaskets simultaneously, as this will prevent unnecessary future work and ensure the entire cooling system operates efficiently.
Don’t forget to gather new coolant to refill the system after installation. This will help maintain optimal engine temperature and performance. Having all these tools and parts ready before starting the job will streamline the process and ensure a successful water pump replacement.
Draining the Coolant: Step-by-Step Instructions
When replacing the water pump on a Volkswagen Corrado, draining the coolant from the system is a crucial first step. This process ensures a clean work environment and prevents contamination when the pump is removed. Follow these detailed instructions to drain the coolant effectively.
| Step | Instructions |
|---|---|
| 1 | Gather the necessary tools: You’ll need a coolant drain pan, a socket set, and pliers. |
| 2 | Ensure the engine is cool to prevent burns. Open the hood and locate the radiator cap. |
| 3 | Remove the radiator cap slowly to release any built-up pressure in the coolant system. |
| 4 | Place the coolant drain pan under the radiator’s drain plug, usually located at the bottom of the radiator. |
| 5 | Using the socket set or pliers, carefully loosen and remove the drain plug. Let the coolant flow completely into the pan. |
| 6 | Once the coolant has drained, ensure the drain plug is securely replaced and tightened. |
| 7 | Dispose of the old coolant properly, following local regulations for hazardous waste. |
| 8 | Finally, check for any leaks around the drain plug area before proceeding with the water pump replacement. |
By following these steps, you will effectively drain the coolant from the system, preparing your Volkswagen Corrado for the water pump replacement. Proceed with the next steps only after confirming that the system is entirely drained.
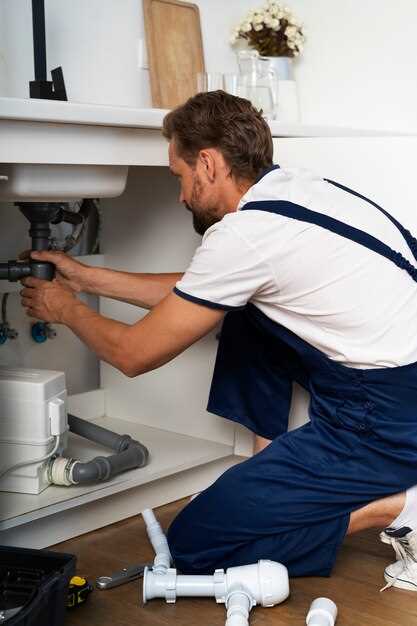
Removing the Old Water Pump Safely
To ensure the safe removal of the old water pump from your Volkswagen Corrado, it is crucial to follow a systematic approach to avoid any damage to the cooling system or unnecessary coolant spillage. Here’s a step-by-step guide to assist you in this process:
- Preparation:
- Gather necessary tools: wrench set, screwdriver, coolant catch basin, and rags.
- Ensure the engine is cool to prevent burns.
- Drain the Coolant:
- Locate the coolant drain plug on the radiator and open it to drain the coolant into the catch basin.
- Remove the cap from the reservoir to allow for a smoother drainage process.
- Remove the Serpentine Belt:
- Identify the tensioner pulley and use a wrench to relieve tension on the serpentine belt.
- Carefully slide the belt off the water pump pulley.
- Disconnect Hoses:
- Locate and carefully disconnect any hoses attached to the pump, ensuring to have rags ready for any residual coolant.
- Unbolt the Water Pump:
- Use the appropriate socket to remove bolts securing the water pump.
- Keep track of bolts, as you will need them for the installation of the new pump.
- Remove the Water Pump:
- Carefully pull the water pump away from the engine block. If it is stuck, gently tap it with a rubber mallet to loosen it.
By following these steps, you can safely remove the old water pump while minimizing the risk of damaging the cooling system or spilling coolant. Proper preparation and careful execution are key to a successful removal.
Installing the New Water Pump and Sealing Techniques
Begin the installation by ensuring that the engine is cool and the coolant system is drained. This will prevent any accidents or spills during the process. Remove any necessary components obstructing access to the water pump, such as the timing belt or other ancillary parts.
Carefully detach the old water pump from the engine block. Make sure to clean the mating surface thoroughly to ensure a proper seal with the new pump. Any remnants of old gaskets or sealant can compromise the integrity of the newly installed pump.
Before mounting the new water pump, prepare the surface with a suitable gasket or sealant. This step is crucial for preventing leaks in the coolant system. If using a gasket, ensure it is properly aligned with the bolt holes. For sealant, apply an even layer to the pump’s flange, taking care not to use excessive material that could compromise the fitting.
Position the new pump against the engine block and secure it with the bolts. Follow the manufacturer’s specifications for torque settings to prevent overtightening, which could damage the pump or surrounding components. Double-check that all connections and fittings are tight and correctly positioned.
Once installed, refill the coolant system with the appropriate coolant, ensuring that air pockets are removed by running the engine and bleeding the system as necessary. Monitor for leaks around the new pump area after the installation, confirming that the sealing technique has effectively secured the pump in place.
Refilling the Coolant System and Testing for Leaks
After replacing the water pump on your Volkswagen Corrado, it is crucial to refill the coolant system properly to ensure optimal performance. Start by locating the coolant reservoir and removing the cap to allow for easier filling. Using the appropriate coolant mixture recommended by the manufacturer, carefully pour the fluid into the reservoir until it reaches the ‘Full’ mark.
Once the initial fill is complete, it’s important to bleed the system of air. Start the engine and let it run for a few minutes with the heater set to maximum. This allows the coolant to circulate through the system and releases any trapped air. Keep an eye on the coolant level and add more fluid if necessary.
After the engine has reached its operating temperature, inspect the area around the new pump and hoses for any signs of leaks. A visual inspection is essential, but to be thorough, you can also carefully run the engine at higher RPMs while monitoring for drips or moisture. A leak could signify a faulty installation or a defective water pump, requiring immediate attention.
Once you confirm the absence of leaks during the testing period, allow the engine to cool down. Double-check the coolant level and top off if needed. Properly refilling the coolant system and ensuring there are no leaks will contribute to the longevity and reliability of your Volkswagen Corrado.


